Each restoration project tells a story. These case studies document real transformations, showing the process from initial assessment through final finishing. Learn from documented techniques and material choices that brought vintage garments back to life.
A 1970s Wool Overcoat: From Frayed Cuffs to Velvet Binding
Initial Assessment
This heavy wool overcoat arrived with significant cuff wear—the edges had frayed completely, exposing raw fabric edges. The body remained in excellent condition, with strong seams and intact lining. The wool showed minimal pilling and maintained its original weight and drape.
Restoration Strategy
Rather than attempting to recreate the original cuff finish, we chose to embrace visible mending with velvet binding. This approach honored the garment's age while adding a contemporary touch. The velvet's texture contrasts beautifully with the wool, creating visual interest.
Materials Used
- Deep burgundy velvet ribbon, 2 inches wide
- Matching wool thread for hand-stitching
- Linen thread for structural reinforcement
- Fray-check solution for edge stabilization
Process Documentation
The frayed edges were first stabilized with fray-check, then trimmed to create clean lines. Velvet binding was cut to length with extra allowance for mitered corners. Each corner received careful mitering to ensure professional finish. The binding was attached using a combination of machine basting and hand-finishing for precision.
Hand-stitching along the inner edge of the binding created an invisible finish from the outside while maintaining flexibility. The velvet's nap was carefully aligned to ensure consistent appearance around both cuffs.
Final Result
The overcoat now features distinctive velvet-bound cuffs that transform wear into character. The repair is both functional and decorative, extending the garment's life while celebrating its history. The contrast between wool and velvet creates visual interest that makes the repair a design feature rather than a necessary fix.
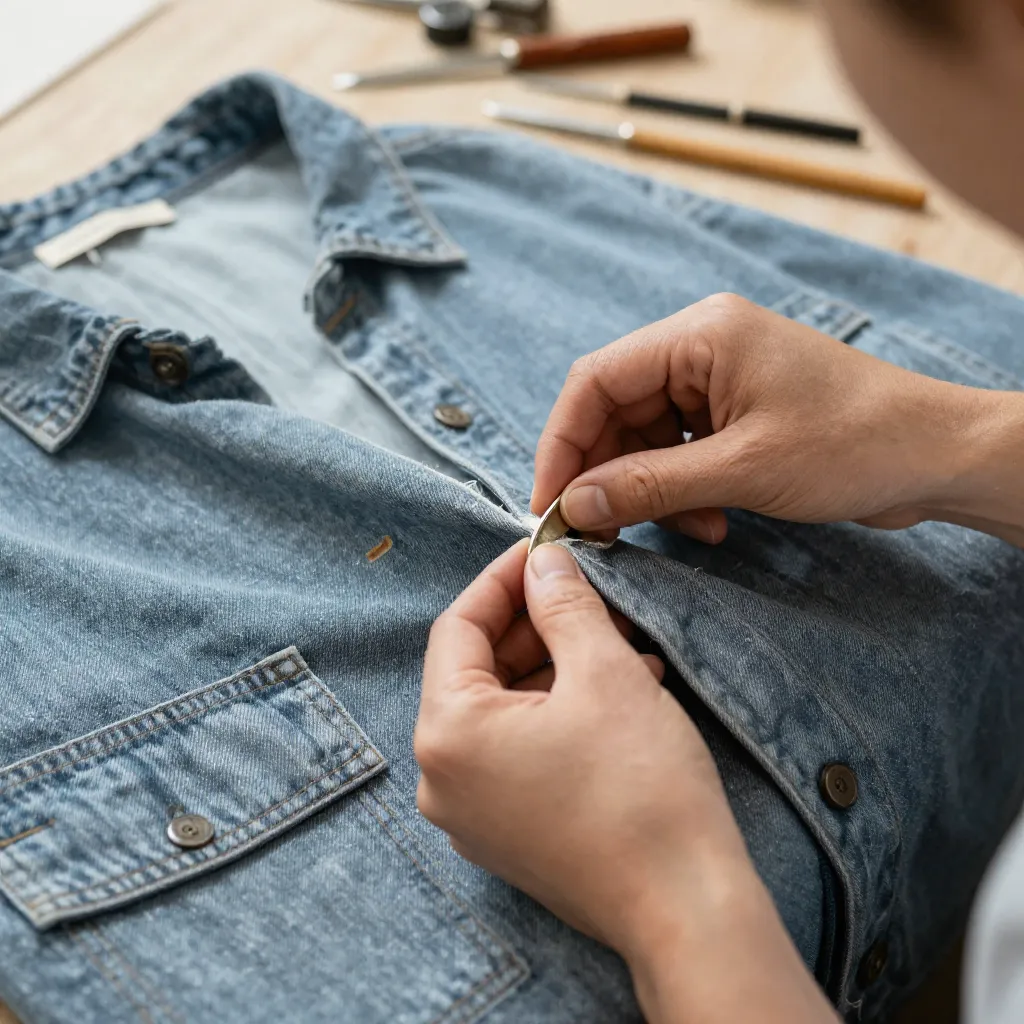
Vintage Denim Jacket: Sashiko Reinforcement on Worn Elbows

Initial Assessment
This well-loved denim jacket showed classic wear patterns: thinning fabric at both elbows with small holes beginning to form. The denim remained strong elsewhere, and the jacket's construction was solid. The fading and wear patterns told a story of regular use.
Restoration Strategy
Sashiko stitching provided both structural reinforcement and decorative enhancement. The geometric patterns distribute stress across the weakened areas while creating visual interest. This technique celebrates the jacket's history while preventing further deterioration.
Materials Used
- Indigo-dyed cotton thread, heavy weight
- Sashiko needles, long and sharp
- Template paper for pattern transfer
- Fabric patches in complementary denim shades
Process Documentation
Patterns were first drawn on template paper, then transferred to the fabric using chalk. The Sashiko running stitch was worked in geometric patterns that radiate from the thinned areas. Each stitch was carefully placed to create even tension and consistent appearance.
Small patches were applied behind the thinnest areas before stitching, providing additional reinforcement. The Sashiko patterns were worked through both layers, creating a unified repair that strengthens the entire area.
Final Result
The jacket now features distinctive Sashiko patterns on both elbows that transform wear into artistry. The indigo thread complements the denim's natural fading, creating repairs that feel integrated rather than added. The reinforcement extends the jacket's usable life while celebrating its history of wear.
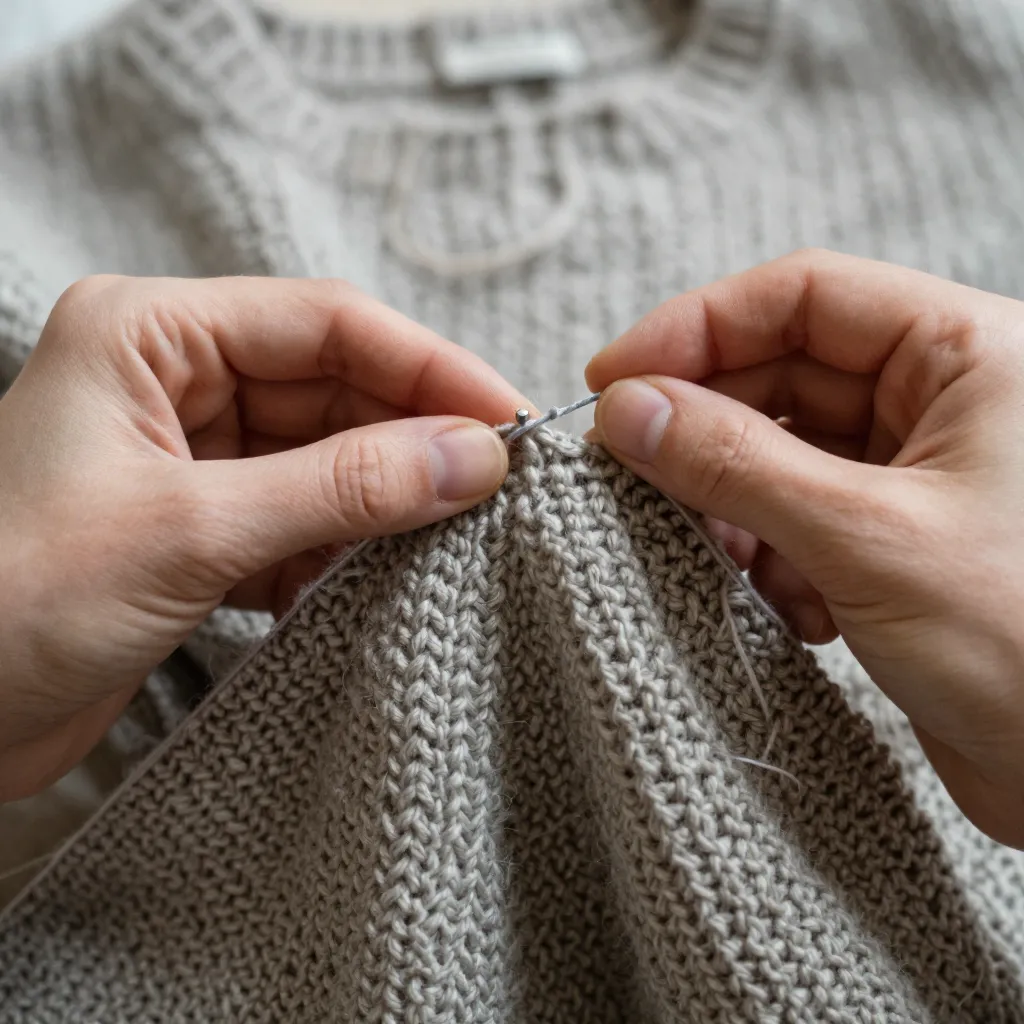
Silk Blouse: Invisible Mending of Small Tears
Initial Assessment
This delicate silk blouse had several small tears along seam lines and in the body fabric. The silk remained supple and vibrant, with no signs of fiber degradation. The damage appeared to be from snagging rather than wear, making it ideal for invisible mending techniques.
Restoration Strategy
Invisible mending techniques were chosen to preserve the blouse's delicate appearance. Fine silk thread matched the original fabric's color and weight, allowing repairs to blend seamlessly. The goal was restoration that maintained the garment's original aesthetic.
Materials Used
- Fine silk thread in matching colors
- Sharp, fine needles for delicate work
- Magnifying glass for precision
- Stabilizing fabric for support during repair
Process Documentation
Each tear was carefully examined under magnification to understand the damage pattern. Stabilizing fabric was placed behind each area to provide support during repair. Thread was selected to match both color and sheen of the original silk.
Repairs were worked using techniques that recreate the fabric's weave pattern. For tears along seams, the original seam structure was recreated. Body fabric tears were mended using techniques that follow the fabric's grain, making repairs nearly invisible.
Final Result
The blouse now shows no visible signs of previous damage. The invisible mending techniques preserve its delicate appearance while restoring structural integrity. The repairs are durable enough for regular wear while maintaining the garment's original aesthetic character.
Lessons from the Logbook
Documentation Matters
Recording your process helps you learn and improves future projects. Note material choices, techniques used, and challenges encountered. This documentation becomes a valuable reference for similar repairs.
Photographs at each stage capture details that might be forgotten. Before-and-after images show transformation progress, while detail shots document specific techniques and their results.
Every Project Teaches
Each restoration project offers learning opportunities. Some techniques work better than others for specific fabrics or damage types. Building this knowledge through experience develops your skills.
Don't be discouraged by challenges—they're part of the learning process. Each repair, whether simple or complex, builds your understanding of materials, techniques, and problem-solving approaches.